Getting Started
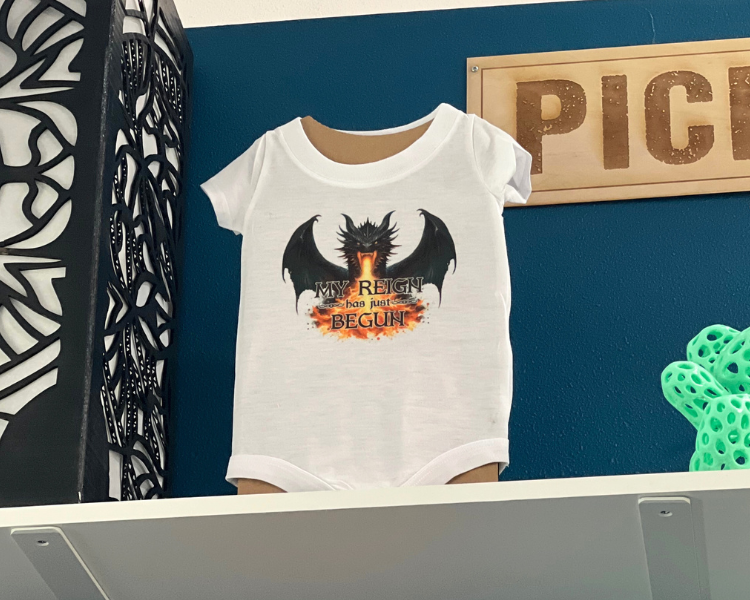
- Create your design or choose an image and size it. Be sure to flip your text or image when creating or printing your design. Designs will always be placed ink-side down and will reverse.
How to Use
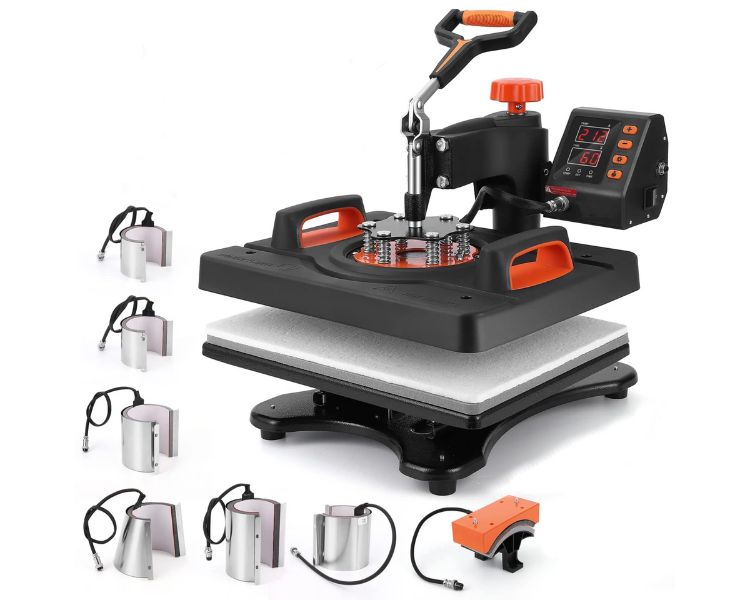
- Gather your materials! You will need your design on your desired paper, the material(s) you want to personalize, and the Velvor Press.
- Please ask for help from a MakerSpace staff member or use extreme caution when handling the heat press.
- Prepare your item(s) by pre-pressing your material for a few seconds using the recommended temperature and pressure settings. This helps eliminate any moisture in the material, ensuring the best transfer results.
- Carefully position your transfer onto your chosen material, aligning it precisely where you want the design to appear.
- Follow the recommended settings for your specific material and transfer type then press the heat platen down firmly for the designated time. The digital control panel allows for precise control over these parameters.
- Once the pressing cycle is complete, carefully lift the heat platen and allow the material to cool slightly. Then, gently peel off the transfer paper to reveal your customized creation.
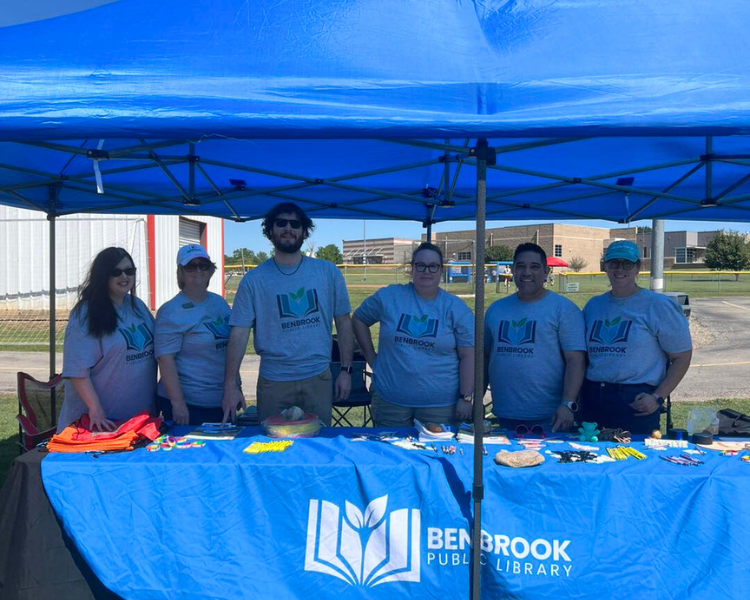
Please contact our friendly MakerSpace staff for any questions or concerns regarding MakerSpace appointments or equipment. Please email Ted, and allow 2-3 business days for a response. We're here to help you learn and create!